Mastering the Granny Square: A Step-by-Step Guide
Crocheting is a beautiful and versatile craft that allows you to create stunning pieces of art with just a hook and some yarn. One of the most popular crochet techniques is the granny square, a classic pattern that can be used to make blankets, scarves, and even garments. If you're new to crochet or want to master the granny square, this step-by-step guide is here to help you get started.
Step 1: Create a Slipknot
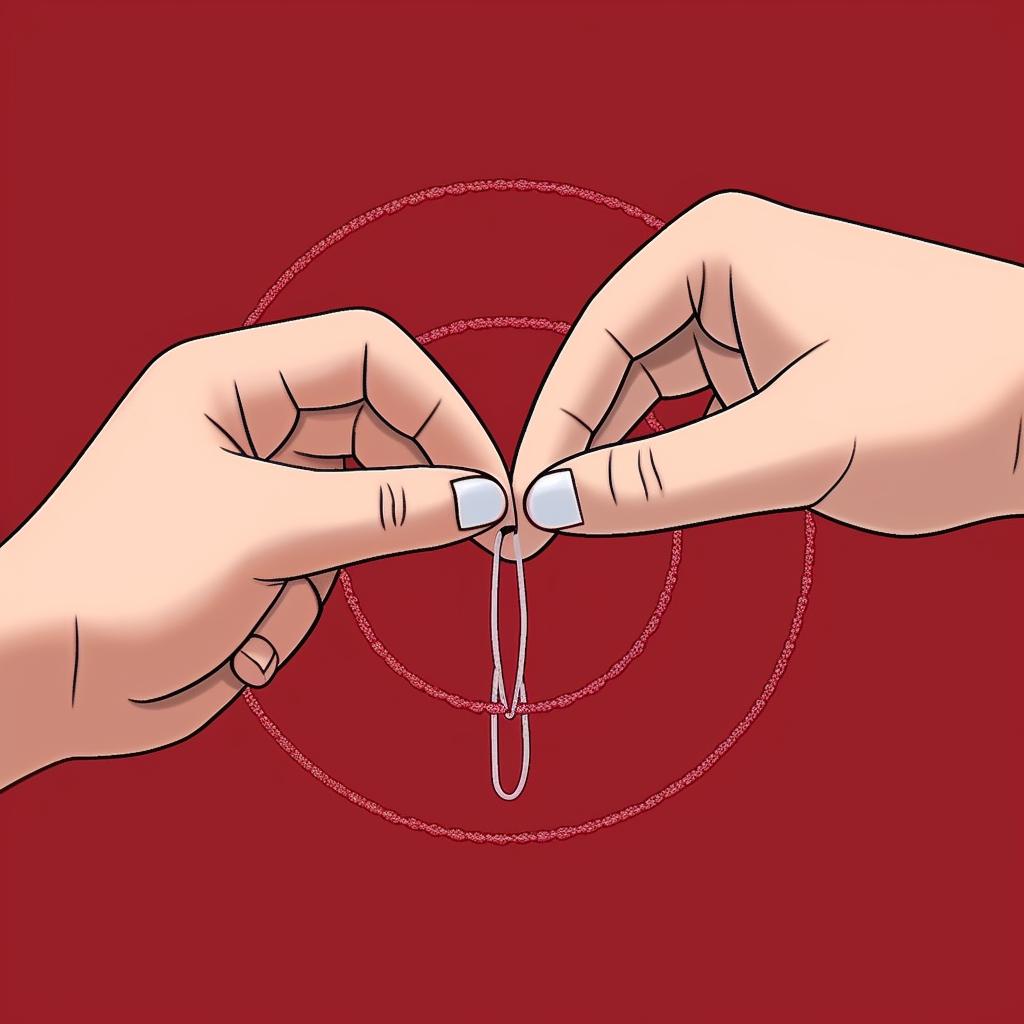
To begin, make a slipknot by holding the end of the yarn in your hand, making a loop, and pulling the long end of the yarn through the loop. Tighten the knot by pulling both ends of the yarn. This will be the starting point of your granny square.
Step 2: Chain 4
Insert your crochet hook into the slipknot and tighten it. Yarn over and pull through the loop on your hook. Repeat this process three more times to create a total of four chains. These chains will serve as the foundation for your granny square.
Step 3: Form a Ring
To form a ring, slip stitch into the first chain you made. This will create a loop, which will be the center of your granny square. The ring will provide a sturdy base for the rest of your stitches.
Step 4: Chain 3
Chain three more stitches. These three chains will count as your first double crochet stitch. The double crochet stitch is a fundamental stitch in crochet and will be used to create the clusters in your granny square.
Step 5: Double Crochet into the Ring
Make two double crochet stitches into the center of the ring. This will form your first "shell" or "cluster" of stitches. The cluster is made up of multiple double crochet stitches and will give your granny square its signature look.
Step 6: Repeat the Pattern
Chain two stitches, then make three double crochet stitches into the center of the ring. Repeat this process two more times to create a total of four clusters or shells. Each cluster should be separated by two chains.
Step 7: Join and Secure
To join the round, chain two stitches, then slip stitch into the top of your initial chain three. This will close the round and secure your work. Cut the yarn and weave in the ends to give your granny square a clean finish.
Now that you've mastered the basic steps of creating a granny square, you can experiment with different colors, yarn weights, and stitch variations to create unique and beautiful designs. Whether you're a beginner or an experienced crocheter, the granny square is a timeless pattern that will always be a favorite in the crochet community.
So grab your crochet hook and yarn, and let your creativity soar as you create stunning granny squares and bring your crochet projects to life. Happy crocheting!
Mastering the Granny Square: A Step-by-Step Guide
Learn how to create beautiful granny squares with this step-by-step guide. Crocheting a granny square is a classic technique that can be used to make blankets, scarves, and more. Follow these simple steps to create your own granny square masterpiece.
- Step 1: Create a Slipknot - Start by making a slipknot. Hold the end of the yarn in your hand, make a loop, and pull the long end of the yarn through the loop. Tighten the knot by pulling both ends of the yarn.
- Step 2: Chain 4 - Insert your hook into the slipknot and tighten it. Yarn over and pull through the loop on your hook. Repeat this 3 more times to create 4 chains.
- Step 3: Form a Ring - Slip stitch into the first chain to form a ring. This will be the center of your granny square.
- Step 4: Chain 3 - Chain 3. This will count as your first double crochet stitch.
- Step 5: Double Crochet into the Ring - Make 2 double crochet stitches into the center of the ring. This will form your first 'shell' or 'cluster' of stitches.
- Step 6: Repeat the Pattern - Chain 2, then make 3 double crochet stitches into the center of the ring. Repeat this 2 more times. You should have 4 'shells' or 'clusters' of stitches.
- Step 7: Join and Secure - Chain 2, then slip stitch into the top of your initial chain 3 to join the round. Cut the yarn and weave in the ends to secure your work.
Now that you know the basic steps, you can get creative and experiment with different colors and stitch variations to create unique granny squares. Whether you're a beginner or an experienced crocheter, the granny square is a versatile and timeless pattern that you'll love to crochet.


